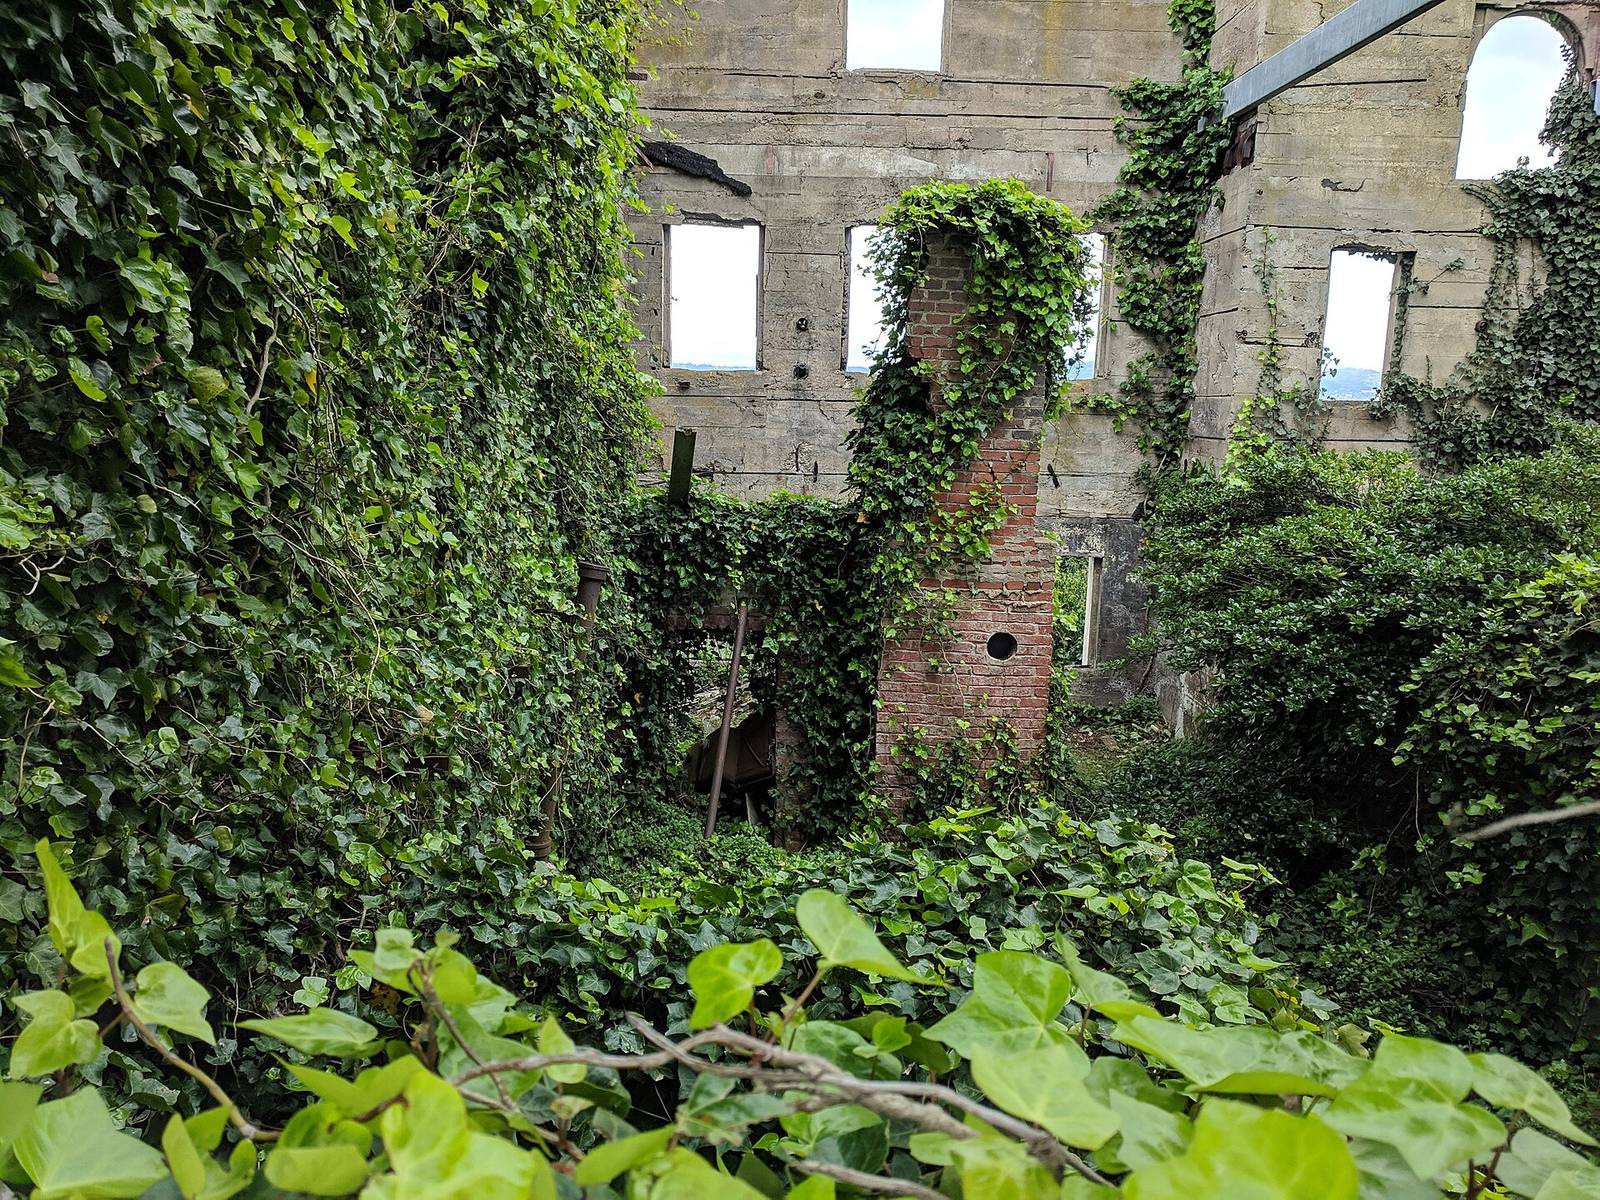
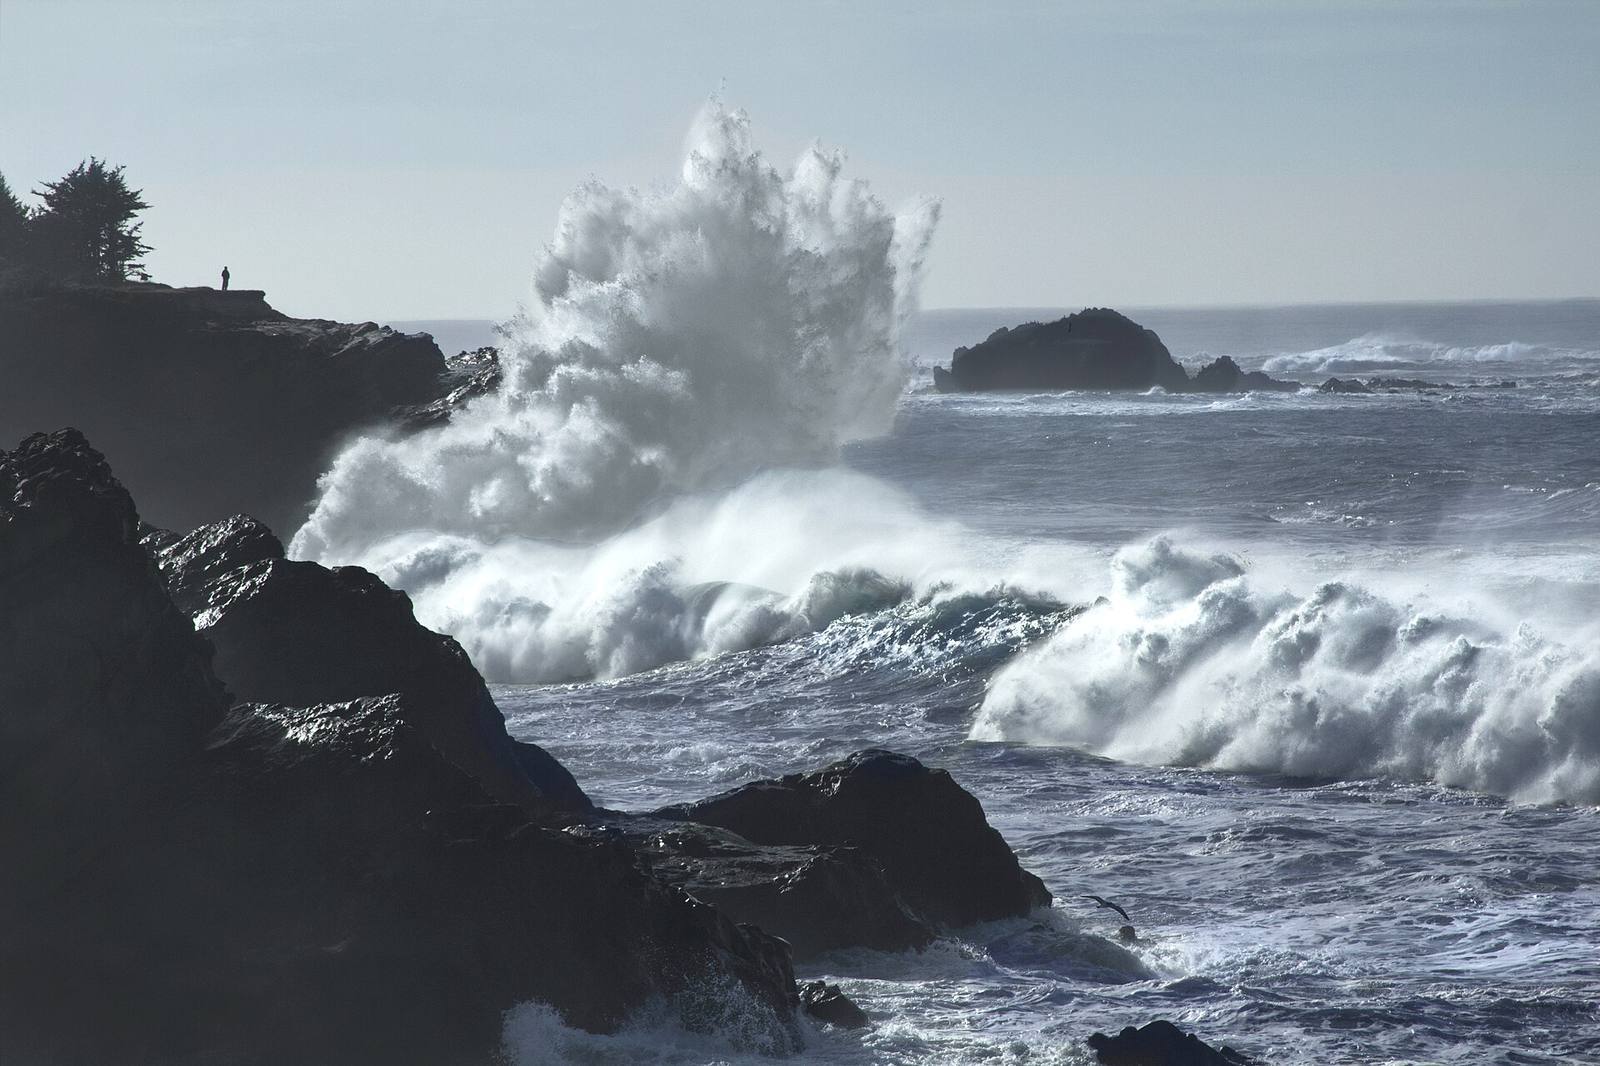
In short: Hard seams where one material meets another, grass hitting rock, mud meeting stone, are one of the biggest tells of an amateur environment. Vertex painting blends materials directly on a mesh to erase those seams, and a "height blend" makes the transition look natural instead of like a fade.
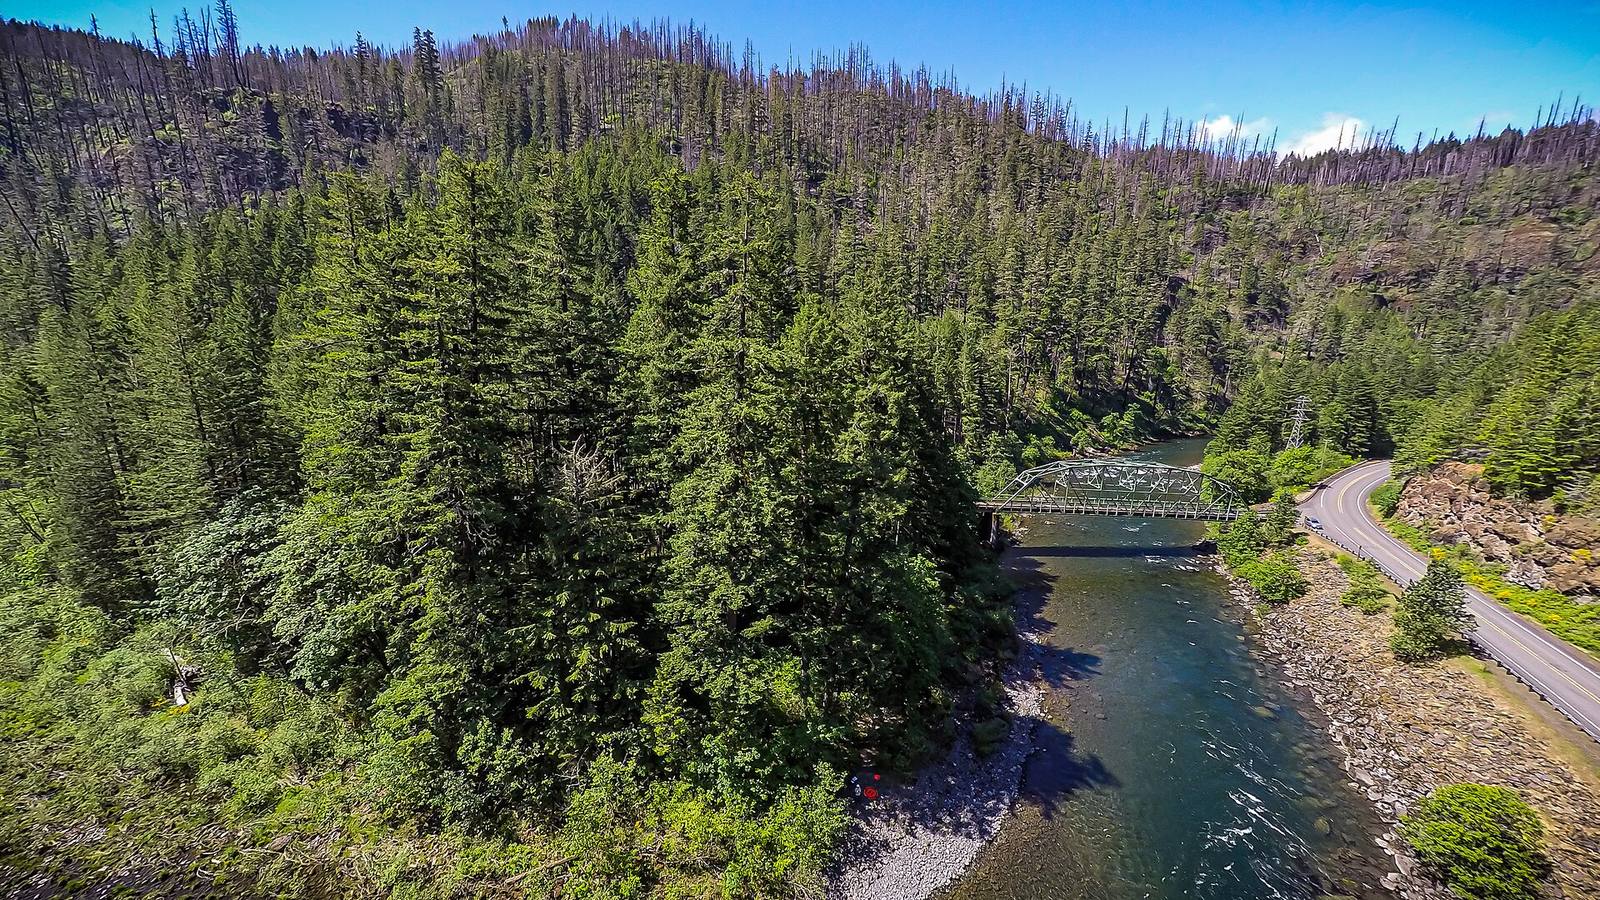 Nature has no hard edges. Where water meets silt meets grass, the transition is irregular and interlocking: exactly what vertex blending recreates so your materials stop meeting in straight, obvious lines.
The problem: seams betray everything
Real surfaces transition irregularly: grass creeps into gravel, mud pools in low spots, moss climbs the shaded side of rock. A hard straight line between two materials reads as fake instantly, no matter how good each texture is.
You can have two photoreal textures and still get an environment that looks wrong, because the transition between them is where believability lives. In the real world, materials interpenetrate: dirt washes into cracks, grass thins out into a path, snow gathers on ledges. A game surface that switches from grass to rock along a crisp polygon edge screams "made of tiles." Vertex painting is the primary tool for dissolving those edges, letting materials bleed into each other the way they do outdoors.
How vertex blending works
Each vertex stores colour/alpha data; a blend material reads it to mix two or more textures per-pixel across the surface. Paint the vertex data in-engine and the materials transition wherever you painted, with no extra UVs or geometry.
Every vertex on a mesh can carry a little extra data, usually four channels of vertex colours. A blend material interprets that data as a mask: where a channel is strong, show material A; where it's weak, show material B; and interpolate between. Because you paint the vertex data directly on the model in the editor, you control the transition by hand, exactly where you want it: mud along the base of a wall, wear on the corners of a floor, moss up one side of a boulder. It costs no extra UV sets and no added geometry (beyond having enough vertices to paint detail into), which is why it's the workhorse blending technique for terrain and large meshes.
The height-blend trick
Don't blend linearly on the alpha. Blend using a height map so the upper material fills cracks and low spots first. Linear blending gives a soft muddy fade; height blending gives a crisp, natural, interlocking transition.
This is the single most important upgrade to your blend material, and it's what separates a professional transition from a smeary one. A naïve blend fades linearly between two textures along the mask, producing a soft, ghostly overlap that looks like a Photoshop gradient. A height blend instead uses the materials' height/displacement information to decide the transition: the incoming material settles into the low areas first, the mortar lines, the cracks, the dents, before covering the high points, exactly like real dirt, sand or snow accumulating. The result is a sharp, irregular, believable boundary instead of a fuzzy fade. If your blends look muddy, adding a height-based transition is almost always the fix.
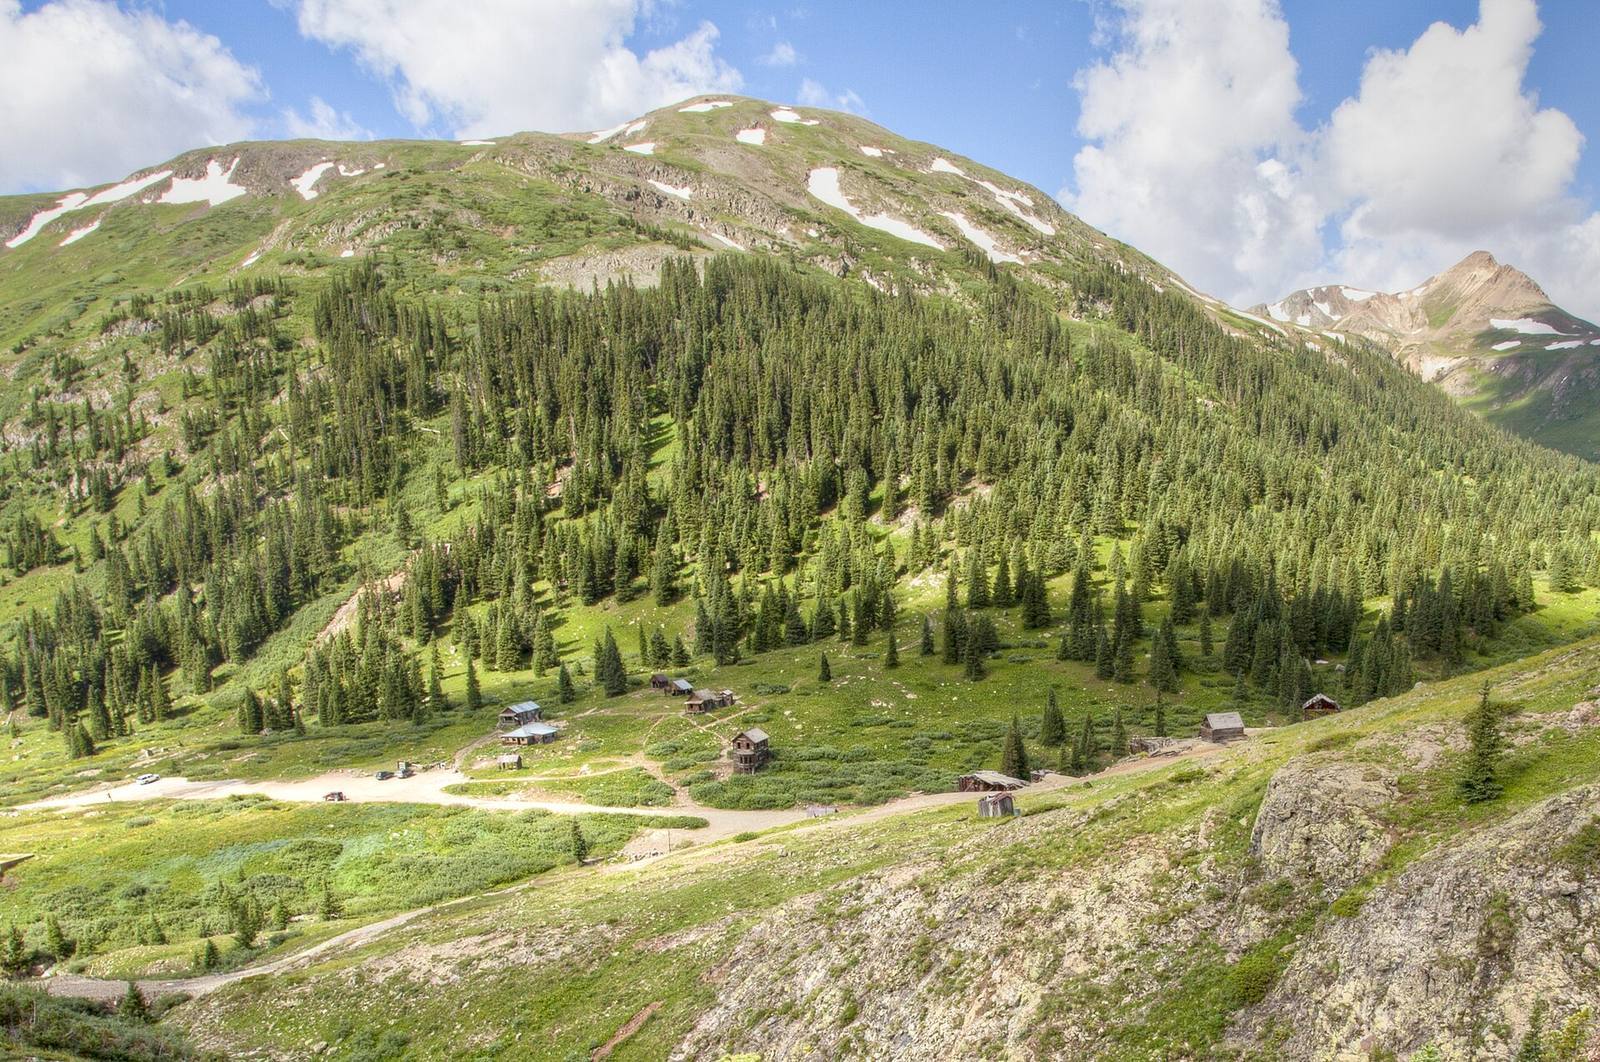 A forest edge is a blend in the wild: the treeline doesn't stop at a line, it scatters and thins. Height-based vertex blending recreates that ragged, interlocking transition instead of a clean border.
Where to paint it
Paint transitions where surfaces naturally interact: the base of walls (dirt/damp), the corners and edges of floors (wear), the shaded sides of rock (moss), low spots (mud/puddles), and anywhere two terrain layers meet.
Vertex blending pays off most at the places the eye checks for realism: contact points and wear zones. A few high-value spots to always consider: dirt and moisture creeping up the base of walls; scuffs and exposed material on the corners of floors and steps where feet land; moss and lichen on the north/shaded faces of rocks; mud and standing water in the lowest points; and the seams between terrain layers on a landscape. These are the same spots a storyteller dresses, because they're where a place shows its history. Paint them and a clean, new-looking kit suddenly reads as weathered and real.
Performance and limits
Blend materials cost more per pixel (they sample multiple texture sets), so use them where transitions matter, not everywhere. Vertex detail is limited by mesh density: you can only paint as fine as your vertices allow.
Blending isn't free: a two- or three-layer blend material samples several textures per pixel, so it's more expensive than a single material. That's fine on the hero terrain and the surfaces the camera studies, but blanket-applying a four-layer blend to every mesh wastes GPU. The other limit is resolution: vertex painting can only be as detailed as the mesh is dense, so a low-poly wall can't carry a fine painted transition, which is where decals come in to add smaller-scale detail on top. Use the right tool at each scale: vertex blend for the broad transition, decals for the crisp local detail.
Where it fits with other tools
Vertex blend handles the mid-scale material transition; tiling textures provide the base detail cheaply; decals add crisp local features (cracks, stains, leaks) that are too fine to paint per-vertex. They stack.
None of these tools competes; they layer. Tiling textures give you affordable high-frequency detail across big surfaces. Vertex blending mixes those tiling materials so they don't meet in hard lines. Decals then sit on top for the specific, sharp details that vertex resolution can't reach: a crack, a scorch, a water stain over a seam. A mature environment surface is usually all three at once. Getting believable material blending into a game, and having it bake down to standard engine materials so it costs nothing unexpected at runtime, is exactly the kind of surface work Numivo is built to make routine, so the seams disappear without a bespoke shader for every meeting of two materials.
Field numbers worth stealing
- The upgrade that fixes muddy blends: height blend, not linear alpha
- Vertex-paint detail ceiling = mesh vertex density: denser mesh, finer paint
- Highest-value paint zones: wall bases, floor edges, shaded rock, low spots
- Blend material cost scales with layers sampled; reserve many-layer blends for hero surfaces
- The full stack: tiling base → vertex blend → decals for local detail
Mini-FAQ
Vertex painting vs a splat/weight map for terrain? Same idea, different storage: terrain often uses layer weight maps (a texture mask) instead of vertex colours, which decouples detail from mesh density. Meshes use vertex colours; big terrains often use layer maps. The height-blend principle applies to both.
Why does my blend look soft and muddy? You're almost certainly blending linearly on the alpha. Switch to a height/displacement-driven blend so the transition settles into low areas first, and the softness turns into a crisp, natural edge.
How many blend layers is too many? Two is cheap and covers most transitions; three is common for terrain; four-plus gets expensive and hard to author. If you need more, question whether decals or a second material would serve better.
Do I need a custom shader for this? The blend logic is standard enough that most engines and toolsets provide it, and baking to plain engine materials keeps runtime cost predictable. You rarely need bespoke shader code; you need the height-blend setup and somewhere sensible to paint.
Seams are where believable environments are won or lost. Paint your transitions where surfaces really interact, blend by height instead of a flat fade, and stack tiling and decals around it, and your materials will meet the way they do in the world: irregularly, interlockingly, and without a single tell-tale straight line.