In short: A beautiful model in Maya means nothing if it arrives in the engine mis-scaled, with a pivot in the wrong place, wrong smoothing, or broken UVs. "Game- ready" is a set of unglamorous disciplines applied before export: scale, frozen transforms, sane pivots, clean naming, proper UVs and normals, LODs.
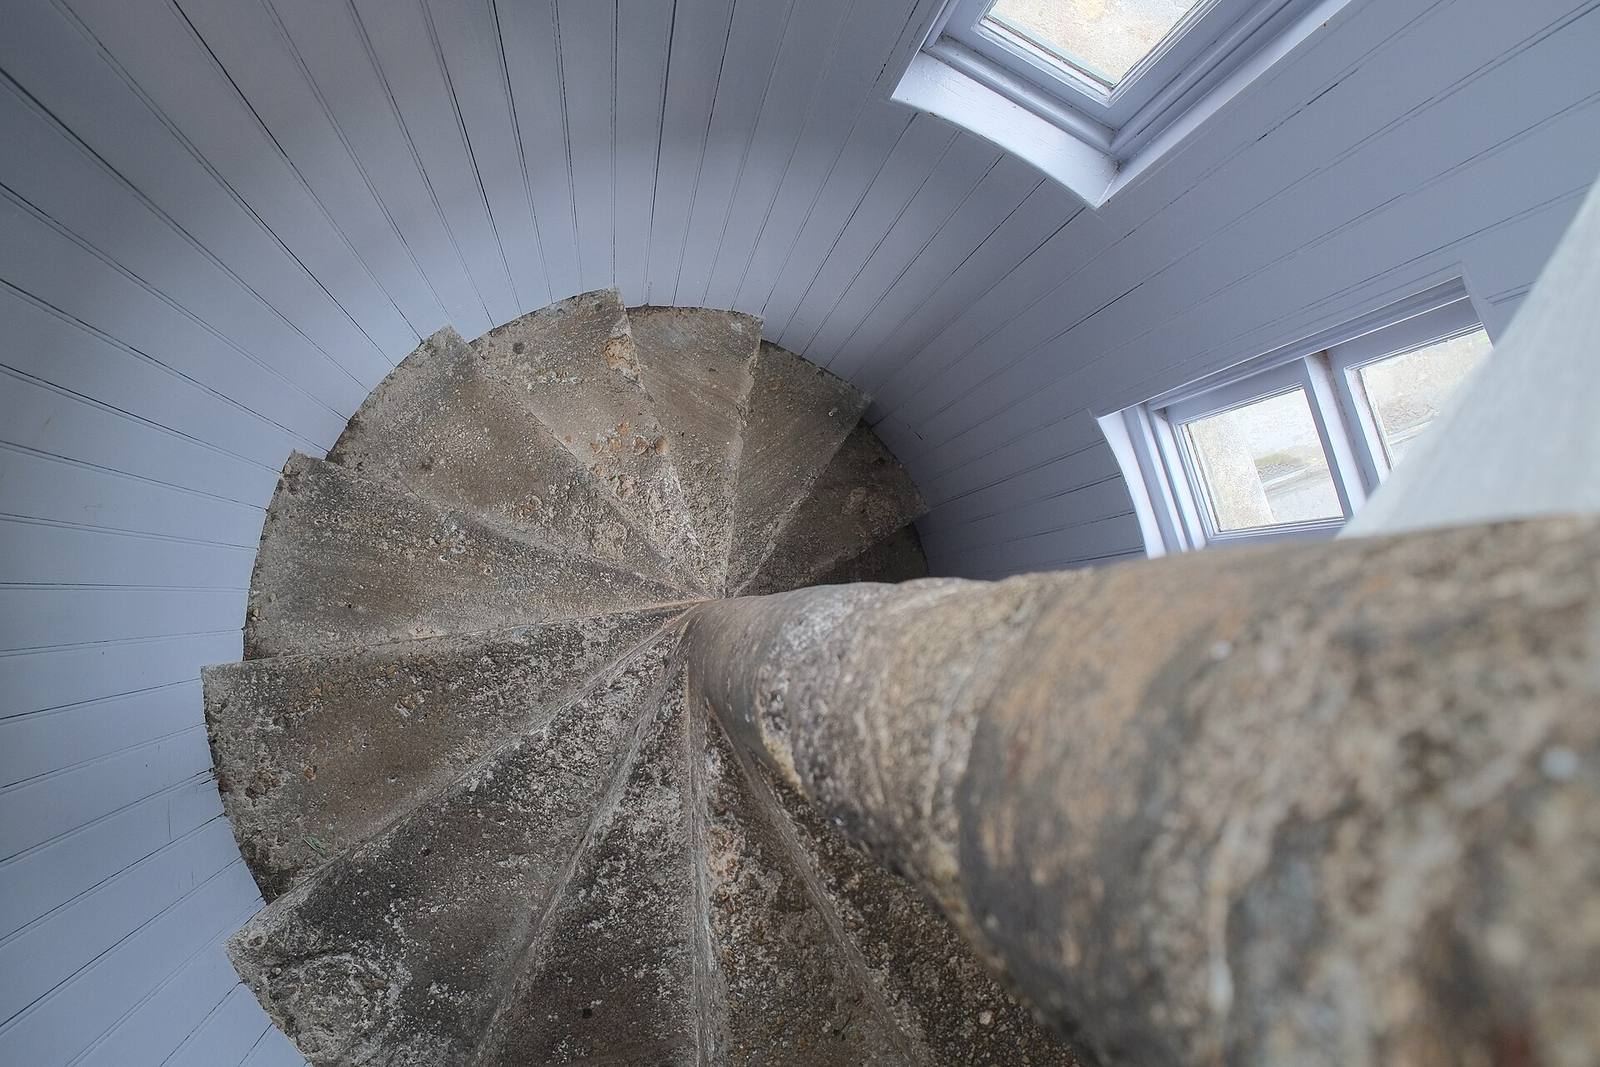 A staircase is a good test case: get the scale wrong and the steps are the wrong height to walk; get the pivot wrong and every placement needs nudging. Game-ready is about the asset behaving predictably the moment it lands.
Scale and units first
Set Maya's working units to match your engine's expectation and build to real-world scale from the start. Unreal thinks in centimetres, Unity in metres, so decide, configure, and check your export against a known reference so assets arrive at the correct size.
Scale is the number-one cause of "why is everything tiny/giant" on import. Decide your target early, set Maya's units accordingly, and model to real-world size against a reference, a character-height stand-in in the scene. Confirm the export scale factor matches what the engine expects, and verify one asset against an in-engine reference before you export a hundred. A whole library imported at the wrong scale is a miserable retrofit; five minutes of unit discipline up front prevents it. If assets keep arriving mis-scaled, the fix is almost always the units/export-scale setting, not the model.
Freeze transforms and fix pivots
Freeze transformations so the object's scale is 1 and rotation is 0 before export, and place the pivot deliberately, usually at the base/logical origin, so it snaps and rotates cleanly in-engine. Unfrozen transforms and random pivots cause placement chaos.
Two quick disciplines prevent a world of engine-side pain. Freeze transforms so the asset's transform is clean (scale 1, rotation 0, sensible translation): an asset carrying baked-in scale or rotation values behaves unpredictably when the engine applies its own. And set the pivot on purpose: at the base for something that sits on the ground, at a logical rotation point for something that swings. A pivot left wherever Maya happened to leave it means every placement needs manual adjustment, the same avoidable per-placement tax that plagues sloppy modular kits. Freeze and pivot before export, every time.
Naming and structure
Name meshes, materials and files by a consistent convention before export, and keep the outliner clean (no junk nodes, no history). A tidy, well-named scene exports predictably; a messy one brings its mess into the engine.
The engine inherits whatever mess you export. Clean the outliner (delete history, remove empty groups and stray nodes), name meshes and materials to your project's convention, and make sure the file name matches. This isn't fussiness: messy history can corrupt exports, unnamed materials import as "lambert1," and a chaotic hierarchy becomes a chaotic import you then have to untangle. A minute of cleanup in Maya saves ten of confusion in the engine, and it keeps your growing library consistent enough to actually find things later.
 UVs and smoothing are where "looked fine in Maya" becomes "looks wrong in-engine." Non-overlapping UVs, consistent texel density, and correct normals are what make a surface read the same on both sides of the export.
UVs, normals and smoothing
Give assets clean, non-overlapping UVs at consistent texel density, and get your normals/smoothing right: hard/soft edges set deliberately, normals facing out. Bad UVs and wrong smoothing are the top causes of assets that "look fine in Maya, wrong in-engine."
The two most common "it changed on import" surprises are UVs and normals. Lay out UVs without overlaps (unless intentional for tiling), hold a consistent texel density so the asset matches its neighbours in-engine, and leave headroom in the 0–1 space. For normals, set hard and soft edges deliberately: the engine reads your smoothing, and a model that looks smooth in Maya can render faceted or shaded-wrong if the normals aren't authored properly. Confirm normals face outward (no flipped faces) and that your smoothing matches how you want it lit. These are the details that separate "arrived correct" from "arrived subtly broken."
LODs and export settings
Author LODs for anything that'll be seen at distance, and nail the export (usually FBX or increasingly USD): the right up-axis, smoothing groups on, tangents/binormals as your engine wants. Export settings are where a clean model still arrives broken.
Finally, the handoff itself. Author LODs (reduced-detail versions) for assets seen at range so the engine can swap them: full detail on a distant object is wasted. And treat the export dialog as part of the asset: match the up-axis to your engine, include smoothing groups, export tangents/binormals if the engine expects them, and embed or organize textures per your pipeline. FBX remains the workhorse; USD is rising for pipelines that need layered interchange. A perfect model exported with the wrong settings still arrives wrong, so save an export preset once you've got it right and reuse it. Once the asset lands clean and correctly scaled, it's ready for the engine-side work, scattering, blending and placement with instanced tools like Numivo, as a well-behaved, game-ready mesh.
Field numbers worth stealing
- Set units to match the engine (UE = cm, Unity = m) and check against a reference before mass export
- Freeze transforms (scale 1, rotation 0) and set pivots deliberately
- Clean the outliner: delete history, name everything, tidy the hierarchy
- UVs non-overlapping + consistent texel density; normals deliberate + facing out
- Author LODs and save a correct export preset (up-axis, smoothing, tangents)
Mini-FAQ
FBX or USD out of Maya in 2026? FBX is still the reliable default for single game assets; USD is worth adopting for layered, multi-tool pipelines. Many studios run both: FBX for simple handoffs, USD where composition and interchange matter.
Why does my model look faceted in-engine but smooth in Maya? Almost always normals/smoothing not authored or exported correctly. Set hard/soft edges deliberately, make sure smoothing groups export, and check for flipped normals.
Do I really need LODs for everything? For anything seen at distance, yes: it's free performance. For assets only ever seen up close (a first-person prop), a single level is fine. Author LODs where the camera pulls back.
How do I keep a team's exports consistent? Shared export presets, a written naming convention, and a quick import-check step. Consistency comes from tooling and a one-page standard, not from everyone remembering the settings.
Game-ready isn't a quality bar on the sculpt so much as a discipline on the handoff. Nail scale, transforms, pivots, naming, UVs, normals and export settings, and your Maya assets will drop into the engine and just work, every time. Skip them and even gorgeous models arrive broken. The checklist is boring; shipping clean is not.