In short: Blender's Geometry Nodes turn environment modelling into a reusable recipe: scatter instances across a surface, control placement with attributes, and keep randomness repeatable with a seed. They are ideal for systems that must change often, while hero composition and final art direction still benefit from deliberate hand-authoring.
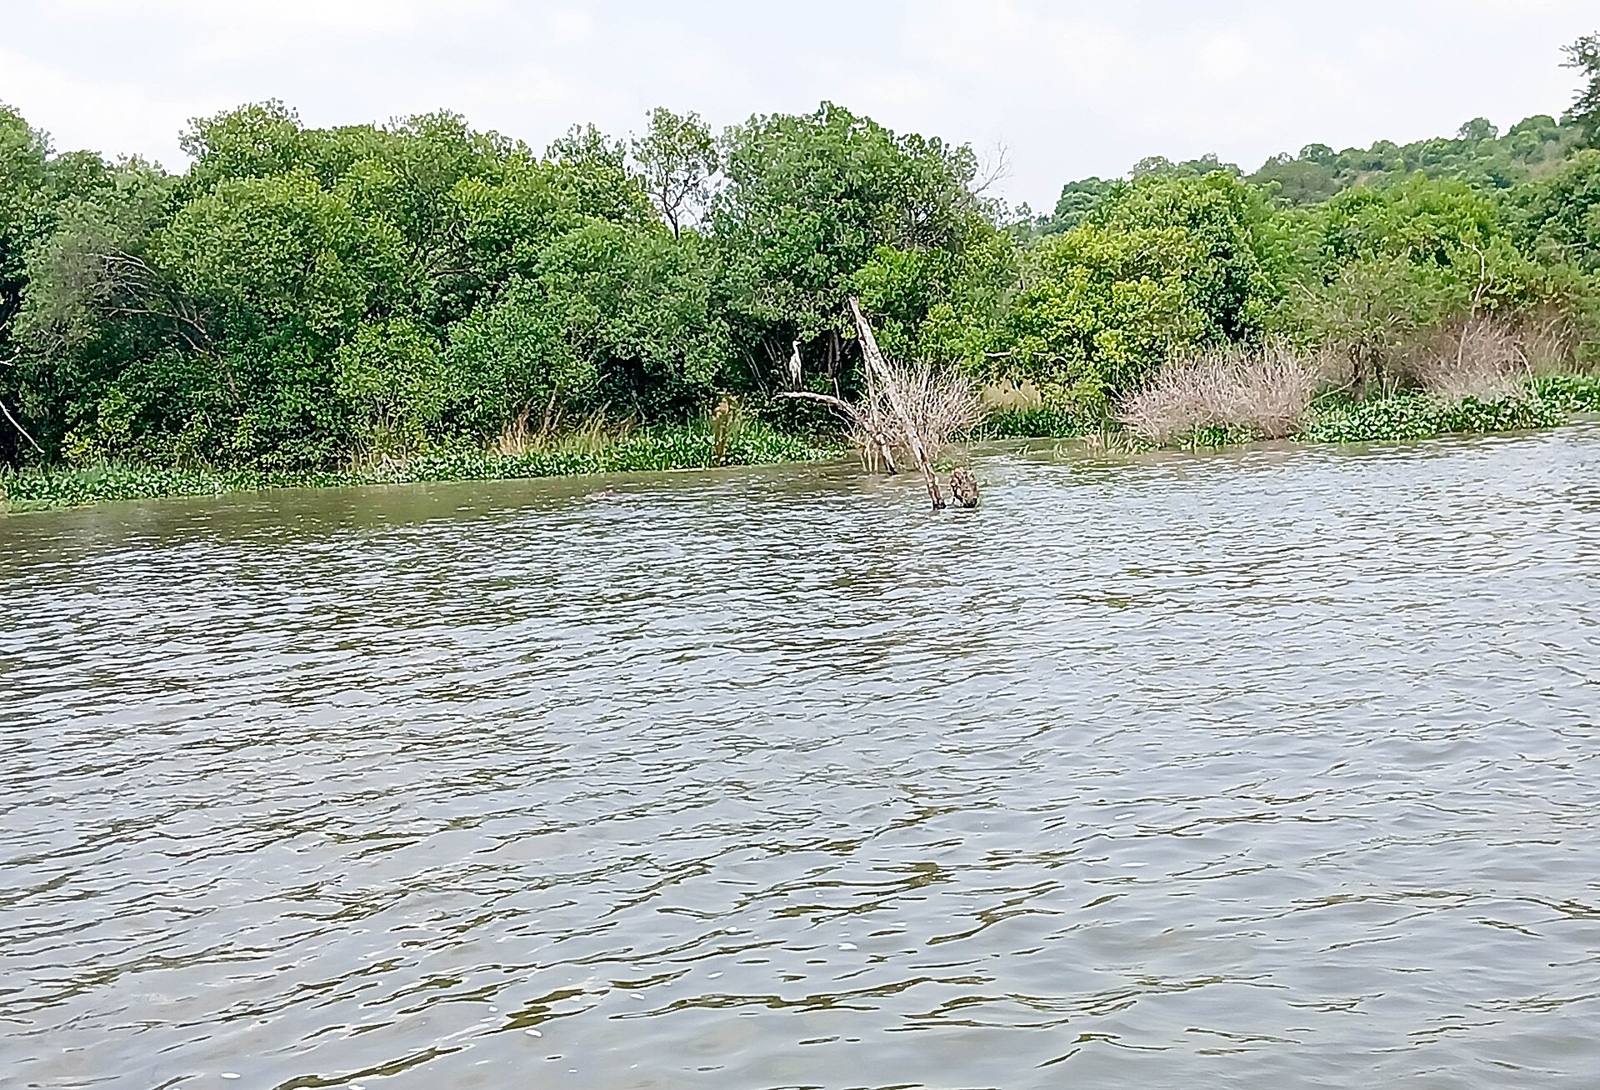 Scattering thousands of plants across terrain like this by hand is a week of tedium. As a procedural recipe it's a few nodes, and re-scattering the whole hillside is a single slider.
What Geometry Nodes really is
It's a visual node graph that takes geometry in, transforms it with a chain of operations, and outputs new geometry, non-destructively. Change an input and everything downstream updates. It's procedural modelling built into Blender.
The mental shift is from making a thing to describing how the thing is made. A Geometry Nodes graph reads geometry (a surface, a curve, a point cloud), runs it through operations, scatter points, instance objects onto them, transform, join, filter, and produces a result that recomputes whenever you tweak an input. Nothing is baked until you want it to be, so you can iterate on the rules rather than the output. For environment work that's transformative: the difference between hand-placing 2,000 bushes and building a scatter recipe you can re-roll, retune and reuse across scenes.
Scattering: the core environment use
Distribute points on a surface (by density or a painted weight), then instance objects onto those points with random rotation and scale. That one pattern, distribute points → instance on points, is the backbone of procedural foliage, rocks and clutter.
If you learn one thing, learn the scatter pattern. You take a surface, generate points across it (evenly, or weighted by a texture or vertex data so you can paint where things go), and then place instances of your assets on those points. Add random rotation so nothing looks stamped, random scale for natural variety, and you have a forest floor or a rocky slope from a handful of nodes. Because it's instancing, thousands of copies stay light. This single recipe, points then instances, underlies most procedural environment work in Blender, and everything else is refinement on top of it.
Controlling randomness with seeds
The "random" in scatter is seed-driven: the same seed gives the same layout every time. Expose the seed as an input so you can roll through variations, then lock the one you like. Unseeded randomness that changes on every edit is a trap.
Procedural randomness only helps if it's repeatable. Blender's random nodes take a seed, and the same seed always produces the same arrangement, so you can audition layouts by stepping the seed, find one that composes well, and lock it. Expose the seed as a graph input and it becomes a creative dial rather than a gremlin. The failure mode to avoid is randomness that reshuffles unpredictably as you work, because then your scene never holds still and you can't art-direct it. Treat the seed as a first-class control: it's what makes procedural results trustworthy instead of chaotic.
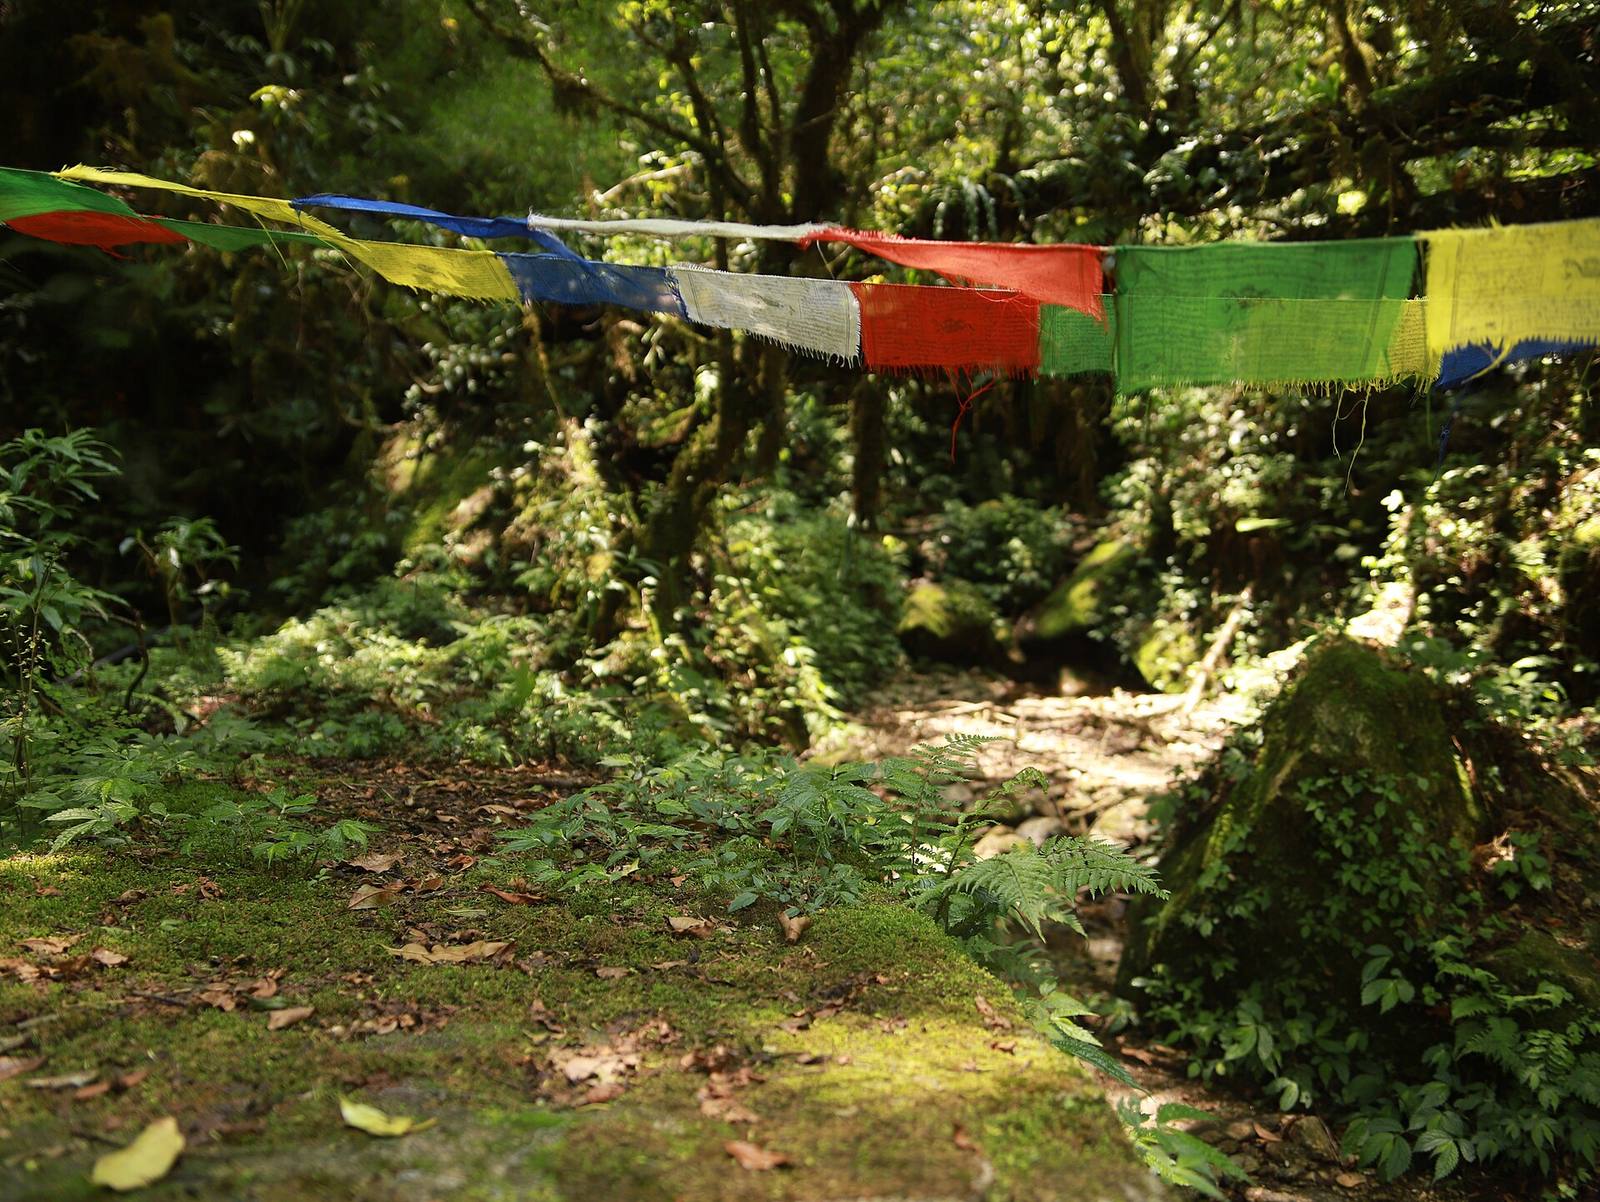 Real ground cover is scatter with rules: denser in shade, thinning at edges, varied in size. Attributes, a painted density mask, a slope value, a random scale, encode exactly those rules in the graph.
Attributes: where it gets powerful
Attributes are per-point/per-vertex data (density, slope, a painted mask, a noise value) that drive the graph. Use them to make scatter respond to the terrain: grass only on flat ground, moss on shaded slopes, density from a painted map, instead of being uniform.
Uniform scatter reads as fake; responsive scatter reads as real, and attributes are how you get there. A slope attribute lets you keep grass off cliffs; a painted weight map lets you thin foliage along a path; a noise attribute breaks up density into natural clumps. By feeding these values into the scatter, as density, as a mask, as a scale multiplier, the environment starts obeying the logic of the place: things grow where they'd grow. This is the leap from "I scattered some rocks" to "the rocks gather in the gully and thin on the ridge," and it's entirely attribute-driven.
Where procedural should stop
Use procedural for the bulk, systematic layer: the forest, the ground cover, the field of debris. Hand-place the story and the hero moments: the landmark, the arranged scene, the one perfect composition. Procedural fills; hands compose.
The mistake is trying to make everything procedural. Geometry Nodes is unbeatable for the systematic bulk, the thousands of background elements no one inspects individually. But the moments that carry a scene, the composed vista, the narrative arrangement, the hero rock framed just so, deserve hand placement, because art direction is a human judgement a density function can't make. The strongest environments layer both: a procedural base for coverage and speed, hand authoring for intent. Know which layer you're building and don't let the fun of the graph pull hero decisions into a slider.
Once a scatter is dialled in, the production question becomes getting it into your engine cheaply and consistently, baked to native instances so it costs nothing unusual at runtime and behaves like hand-placed content. That bake-to-instances step is exactly what Numivo does on the engine side, so a Blender-authored look and an in-engine scatter share the same performance-safe destination.
Field numbers worth stealing
- The one pattern to learn: distribute points → instance objects on points
- Always add random rotation + random scale so instances don't look stamped
- Randomness is seed-driven: expose the seed, roll variations, lock the best
- Make scatter responsive via attributes: slope, painted masks, noise density
- Split the work: procedural for the bulk, hands for the hero moments
Mini-FAQ
Do I need to know maths to use Geometry Nodes? A little vector intuition helps, but you can go a long way with the high-level scatter and instance nodes without touching a formula. Start with the point-and-instance pattern; reach for maths nodes only when you want finer control.
Is procedural always faster than hand-placing? For the bulk layer, massively, and it's re-editable, which hand-placement isn't. For a handful of hero pieces, hand-placing is faster and better. Use each where it wins; don't proceduralise a five-object composition.
Can I use my Geometry Nodes scatter in a game engine? You export the result (the generated geometry/instances), not the live Blender graph, since engines don't run Blender's nodes. Bake the scatter to instances and export those, or rebuild the scatter with the engine's own instancing so it stays performant at runtime.
How do I stop procedural scenes looking obviously procedural? Attributes and variation. Drive density and scale from terrain data and noise so nothing is uniform, break regular spacing, and hand-place the focal points. Uniformity is the tell; responsiveness and a few authored anchors cure it.
Geometry Nodes rewards a small amount of structure with an enormous amount of speed. Learn the scatter pattern, keep your randomness seeded, drive variation with attributes, and reserve hand-work for the moments that matter, and you'll build environments faster without them looking machine-made.