Hand-placing rocks is the slowest way to make a landscape look natural — and uniform random scatter is the fastest way to make it look fake. Real rock placement follows rules: debris collects at slope bases, big formations cluster, small stones fill the gaps between them. This guide shows a workflow that encodes those rules, using Numivo's Surface Scatter in UE5. The ideas transfer even if you scatter by hand.
What is surface scattering?
Surface scattering is the procedural placement of many mesh instances across terrain or geometry, driven by rules instead of individual clicks — density maps, slope and altitude limits, spacing constraints and randomized transforms. Done right, it turns hours of placement into seconds of painting. Done wrong, it produces the "instanced soup" look every player recognizes.
Step 1 — Build a small rock species, not one mesh
Don't scatter a single rock mesh. Create a species — a weighted set:
- 2–3 large hero formations (weight low, ~5 %)
- 4–5 medium boulders (weight ~25 %)
- 6+ small stones and debris (weight ~70 %)
The weight distribution matters more than the meshes. Nature is mostly small stuff with rare big anchors — invert that and the scene reads as artificial.
Step 2 — Let slope decide where rocks live
Set a slope mask so rocks favor 15°–55° inclines and taper off on flats. Rocks on a perfectly flat meadow look placed; rocks hugging the transition between cliff and ground look geological. In Numivo this is two sliders on the species; by hand, it's the rule to follow while you place.
Step 3 — Clustering beats randomness
Pure random scatter produces even spacing, and even spacing screams "computer". Enable clustering so instances gather into groups with gaps between them: a cluster radius around 400–600 cm with 3–7 instances per cluster is a good starting point for boulders. Then add an Avoid rule against your tree species (rocks rarely sit tight against trunks) and an Attract rule pulling small debris toward the large formations — that "debris apron" around big rocks is the detail most scattered scenes miss.
Step 4 — Randomize the right transforms
- Yaw: full 360° — always.
- Scale: 0.8–1.3 non-uniform, so silhouettes vary.
- Roll/pitch: only ±8° for grounded rocks — big random tilts read as floating.
- Sink: embed instances 5–15 cm into the terrain. A rock sitting on the ground instead of in it is the single most common giveaway.
Step 5 — Keep it performant: bake to instances
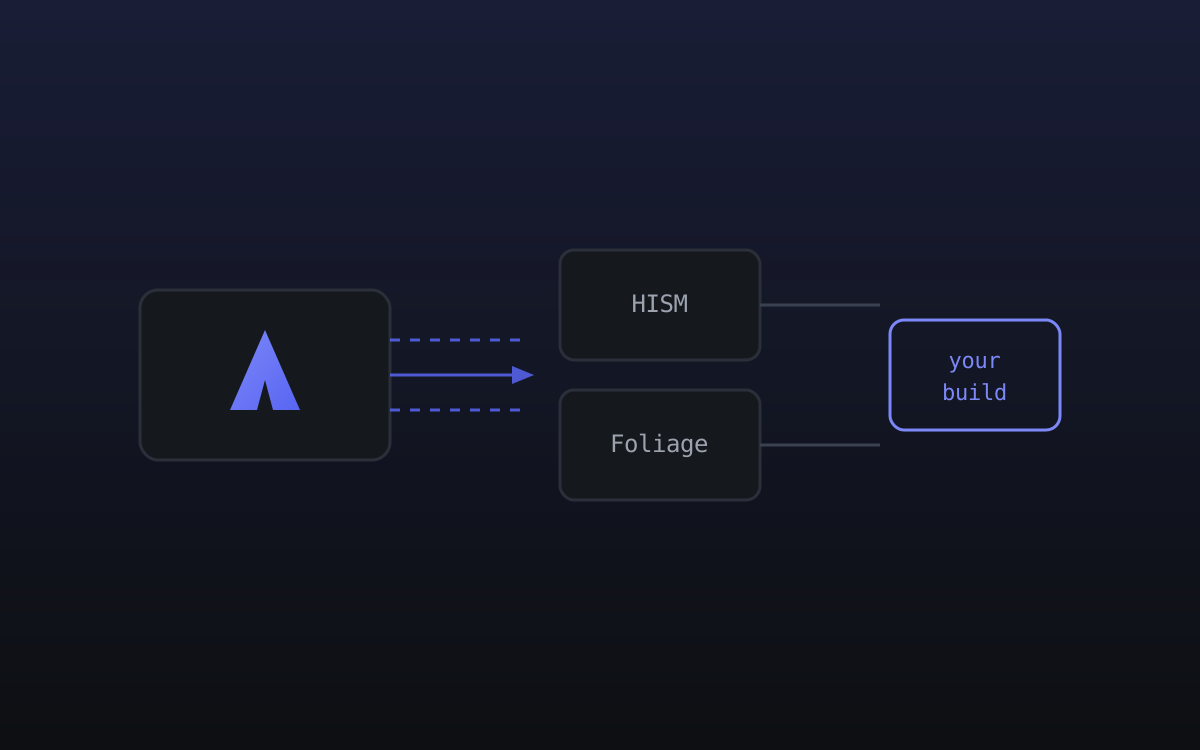
Scatter tools earn or lose their keep here. Numivo bakes the result to Hierarchical Instanced Static Meshes (or foliage instances, your choice) — native UE5 assets that batch into a handful of draw calls, work with Nanite, and ship with zero runtime plugin cost. A 20,000-rock hillside becomes a few instanced batches; your build contains no Numivo code at all.
Two performance rules of thumb:
| Scenario | Recommendation |
|---|---|
| Rocks < 1 m, high count | Foliage instances + aggressive cull distance |
| Hero formations, walkable | HISM with Nanite meshes, no cull |
Try it on a real hillside
The whole workflow above is about 10 minutes the first time and about 90 seconds once your species presets exist. The free tier includes core scatter with no time limit, so you can test this on your own landscape today. If you get stuck, the documentation covers every parameter, and the Discord is full of people who share their species presets.